Customize Consent Preferences

We use cookies to help you navigate efficiently and perform certain functions. You will find detailed information about all cookies under each consent category below.

The cookies that are categorized as "Necessary" are stored on your browser as they are essential for enabling the basic functionalities of the site. ... 

Always Active

Necessary cookies are required to enable the basic features of this site, such as providing secure log-in or adjusting your consent preferences. These cookies do not store any personally identifiable data.

No cookies to display.

Functional cookies help perform certain functionalities like sharing the content of the website on social media platforms, collecting feedback, and other third-party features.

No cookies to display.

Analytical cookies are used to understand how visitors interact with the website. These cookies help provide information on metrics such as the number of visitors, bounce rate, traffic source, etc.

No cookies to display.

Performance cookies are used to understand and analyze the key performance indexes of the website which helps in delivering a better user experience for the visitors.

No cookies to display.

Advertisement cookies are used to provide visitors with customized advertisements based on the pages you visited previously and to analyze the effectiveness of the ad campaigns.

No cookies to display.

🔥Enjoy 80% OFF on the Lifetime Plan! LIMITED TIME!

MailWish

Recommended Services
Supported Scripts
WordPress
Hubspot
Joomla
Drupal
Wix
Shopify
Magento
Typeo3

Hello everyone,

Today we will learn how to create your first business email account(Business Email Hosting). it’s so simple.

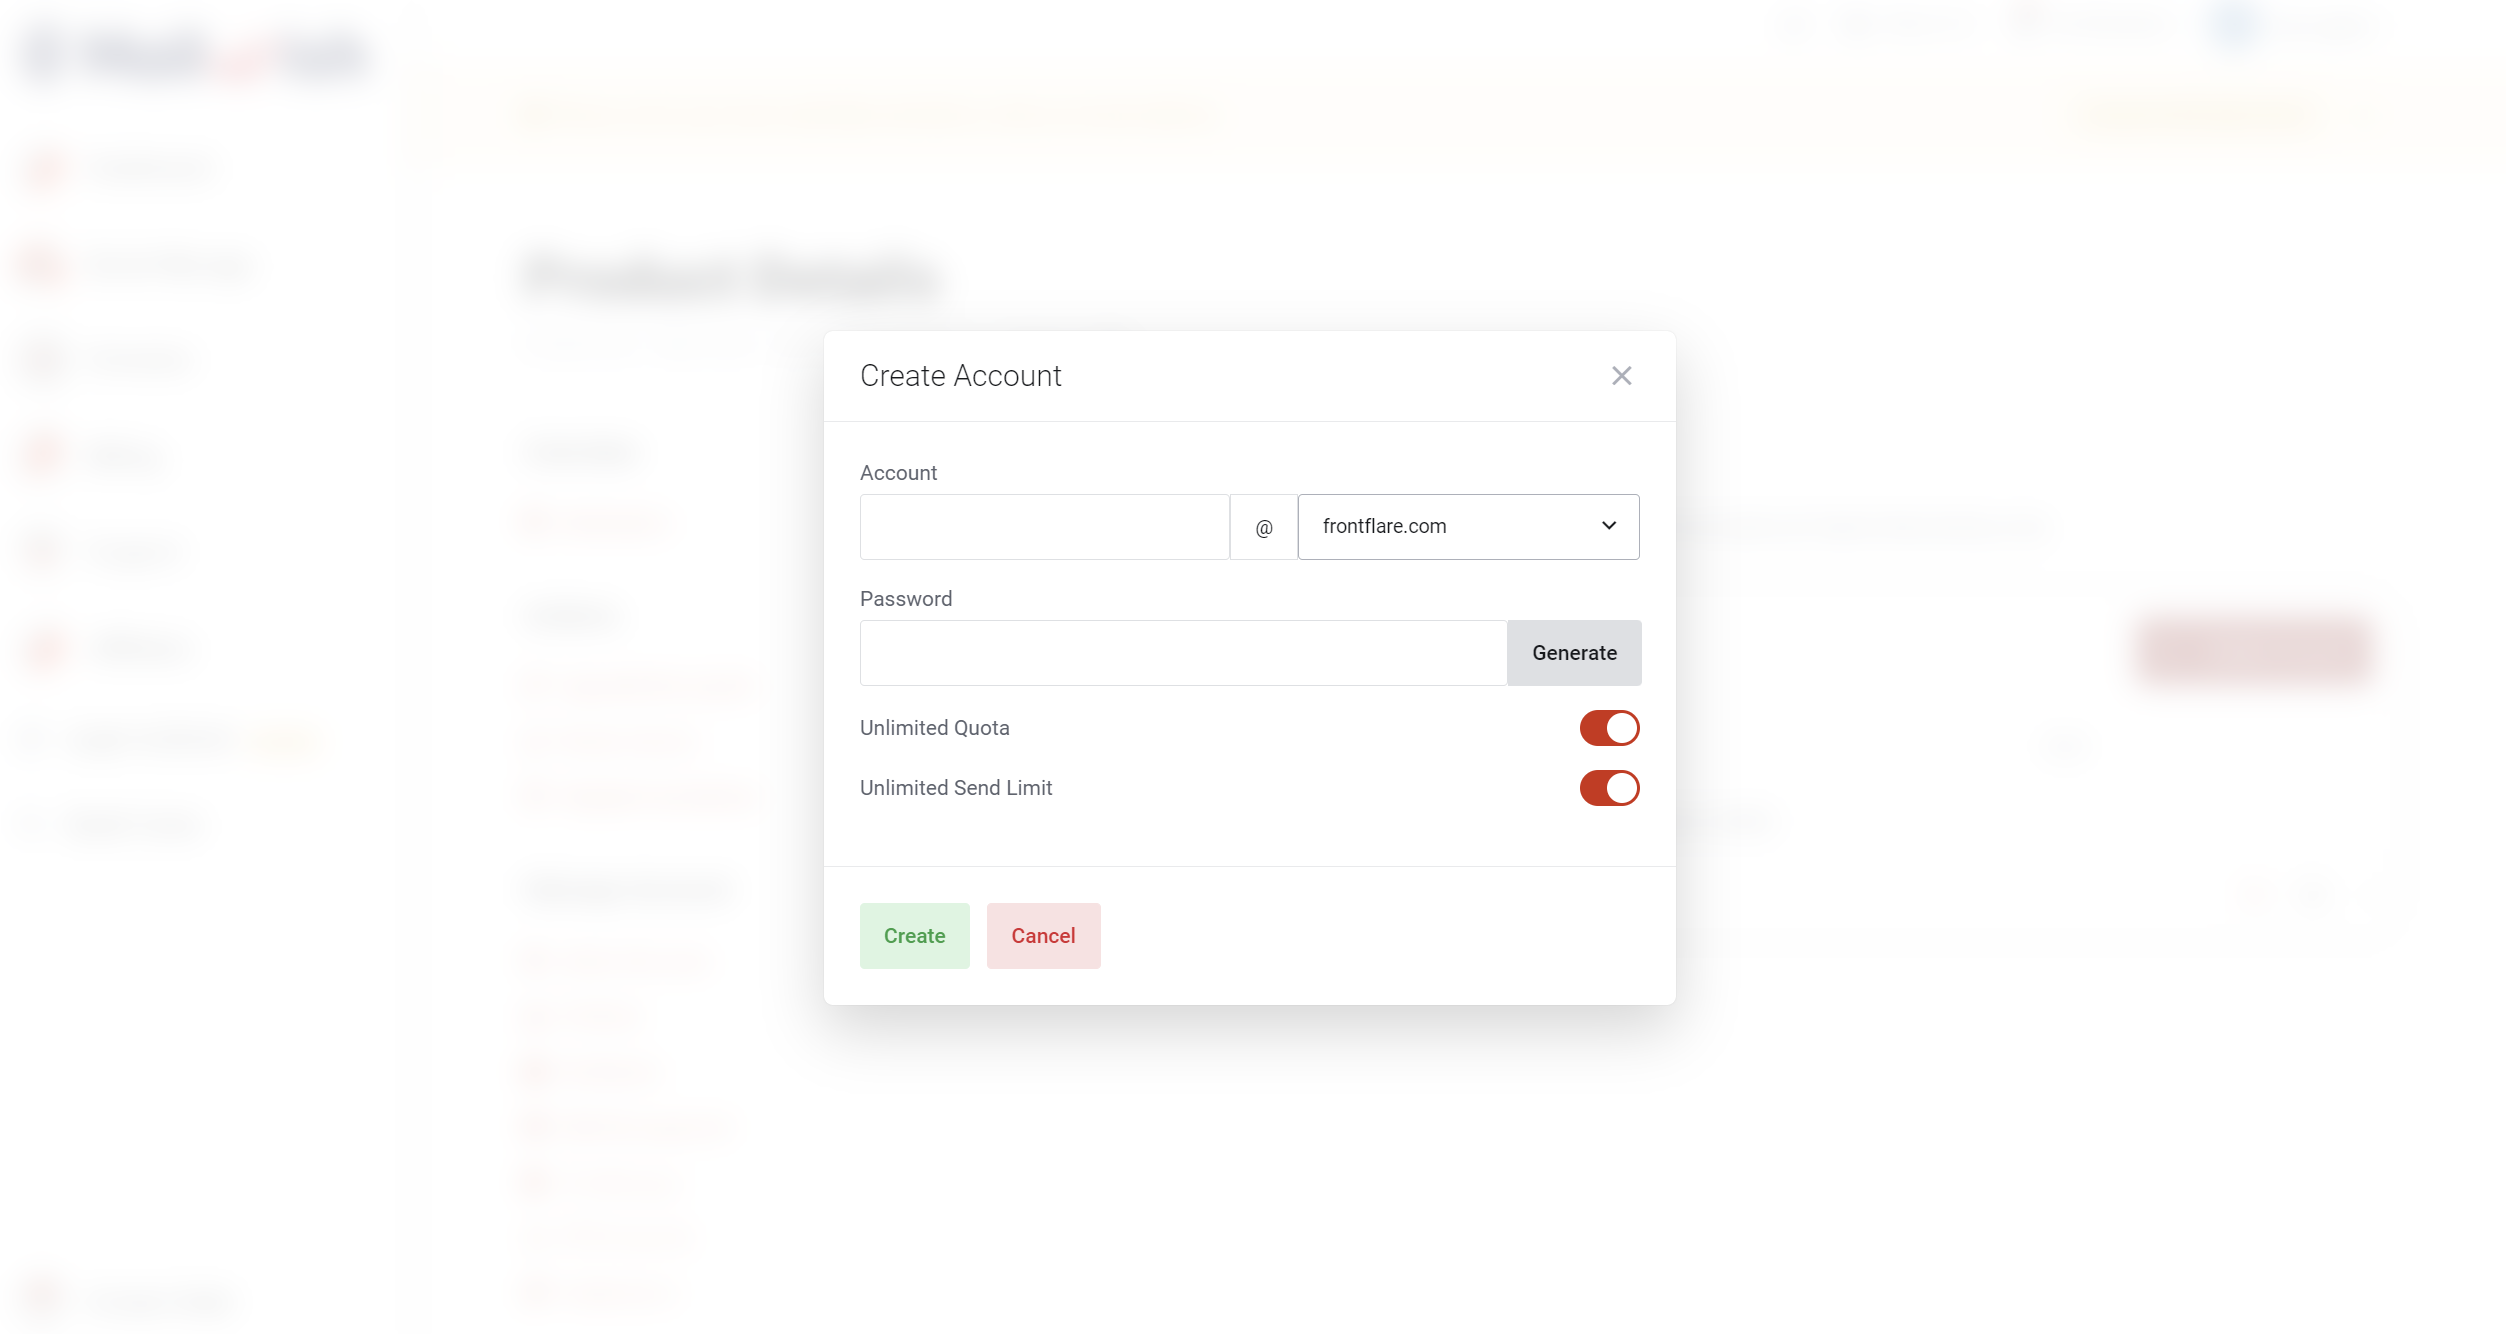
Note: a common issue for most new users is setting the ‘sending rate limit’ in the email account. Please note that you can’t set an ‘unlimited send limit’. You can configure it to send up to 7200 per day, which is 300 per hour.

  1. First log into MailWish Dashboard.
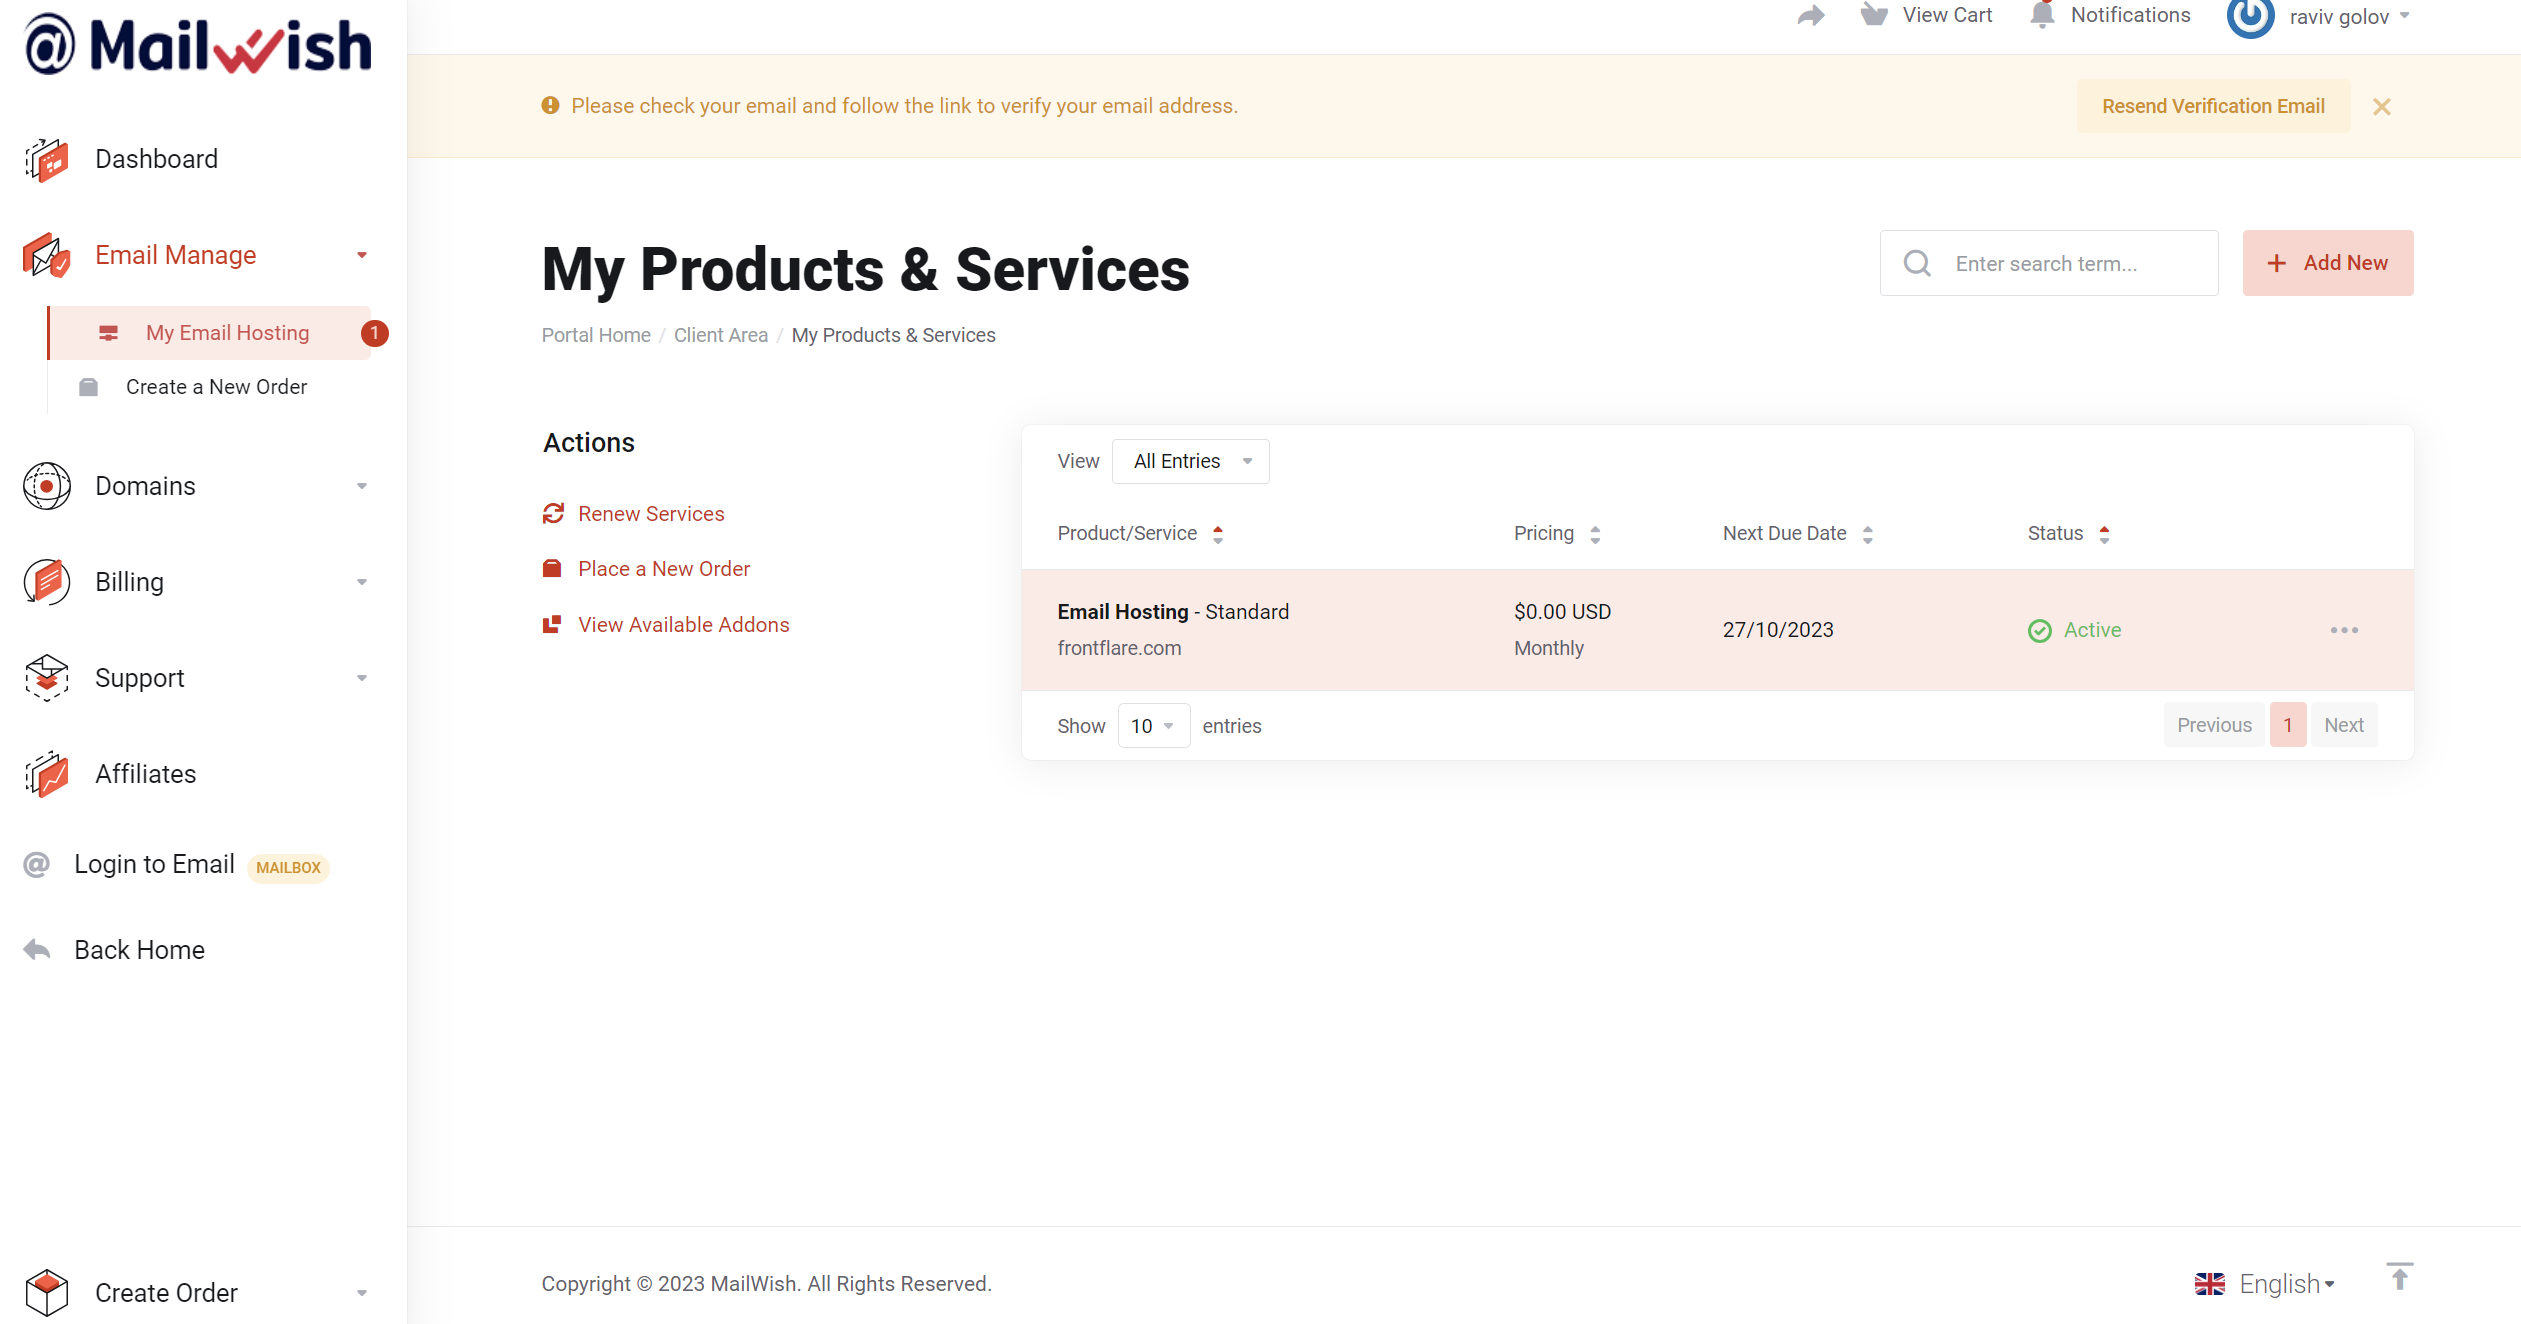
  2. Visit ‘My Email Hosting’:
  3. Select ‘Domains‘ and then choose ‘Add Domain‘ to incorporate your business domain, for this example we use ‘frontflare.com,’ which you can later use for your Business Email.
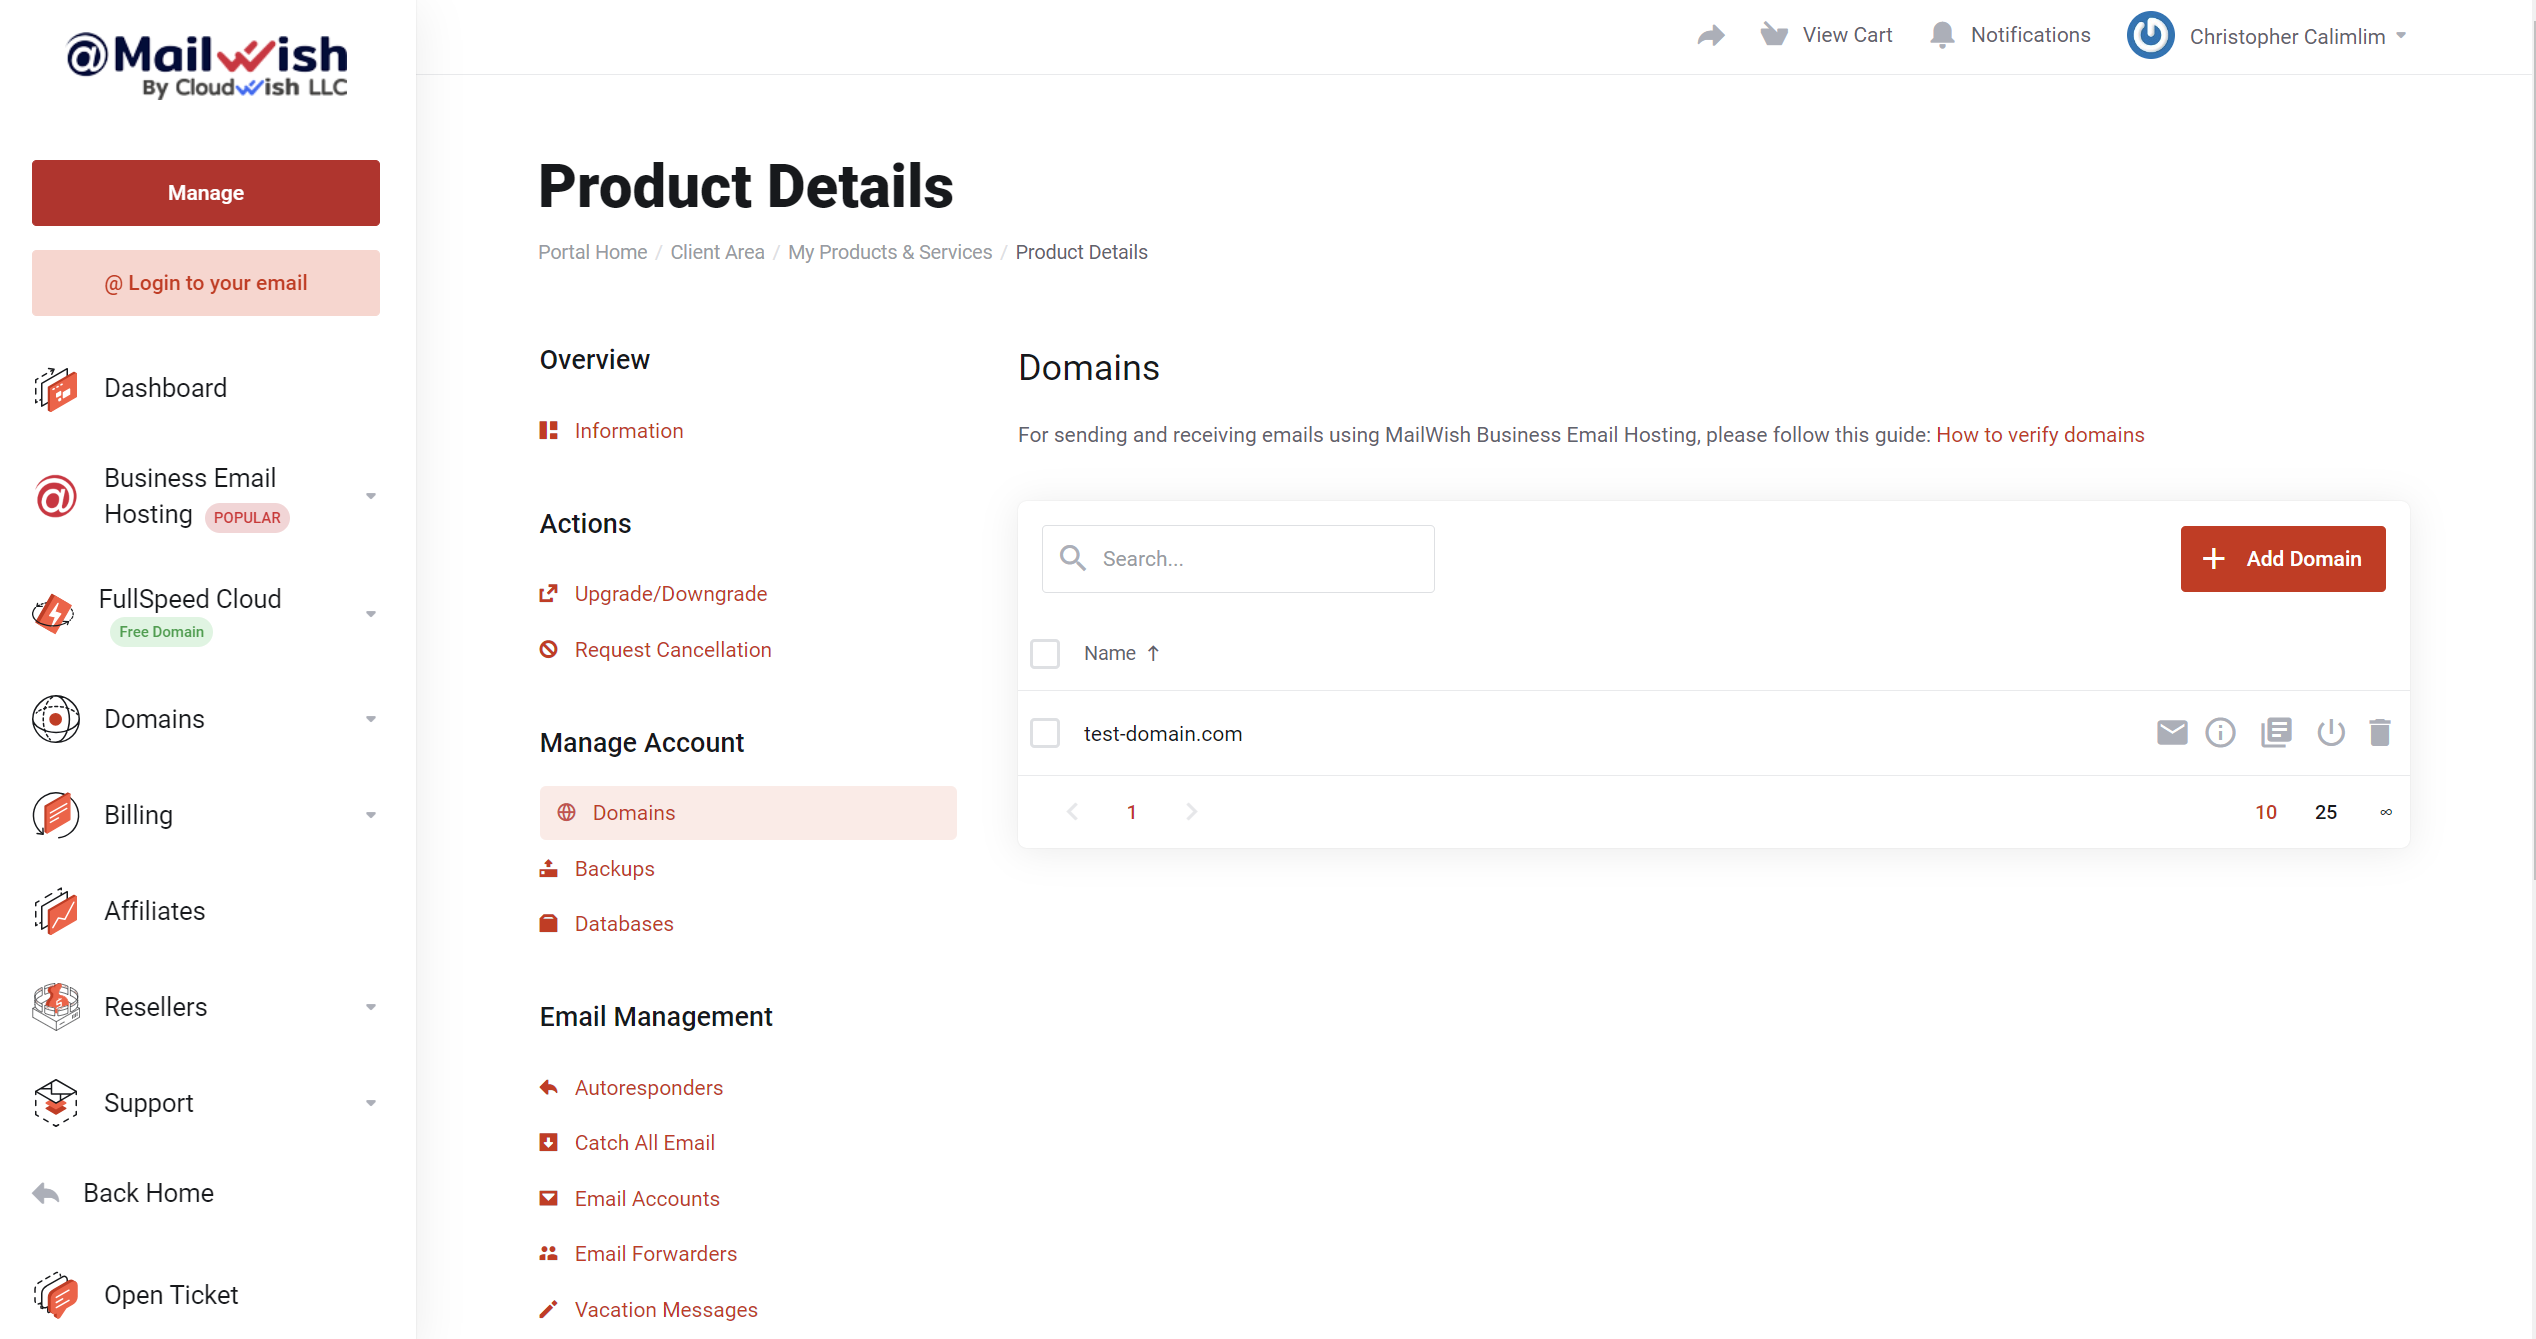
  4. After adding your domain, navigate to ‘Email Accounts‘, here you can create Unlimited Email accounts
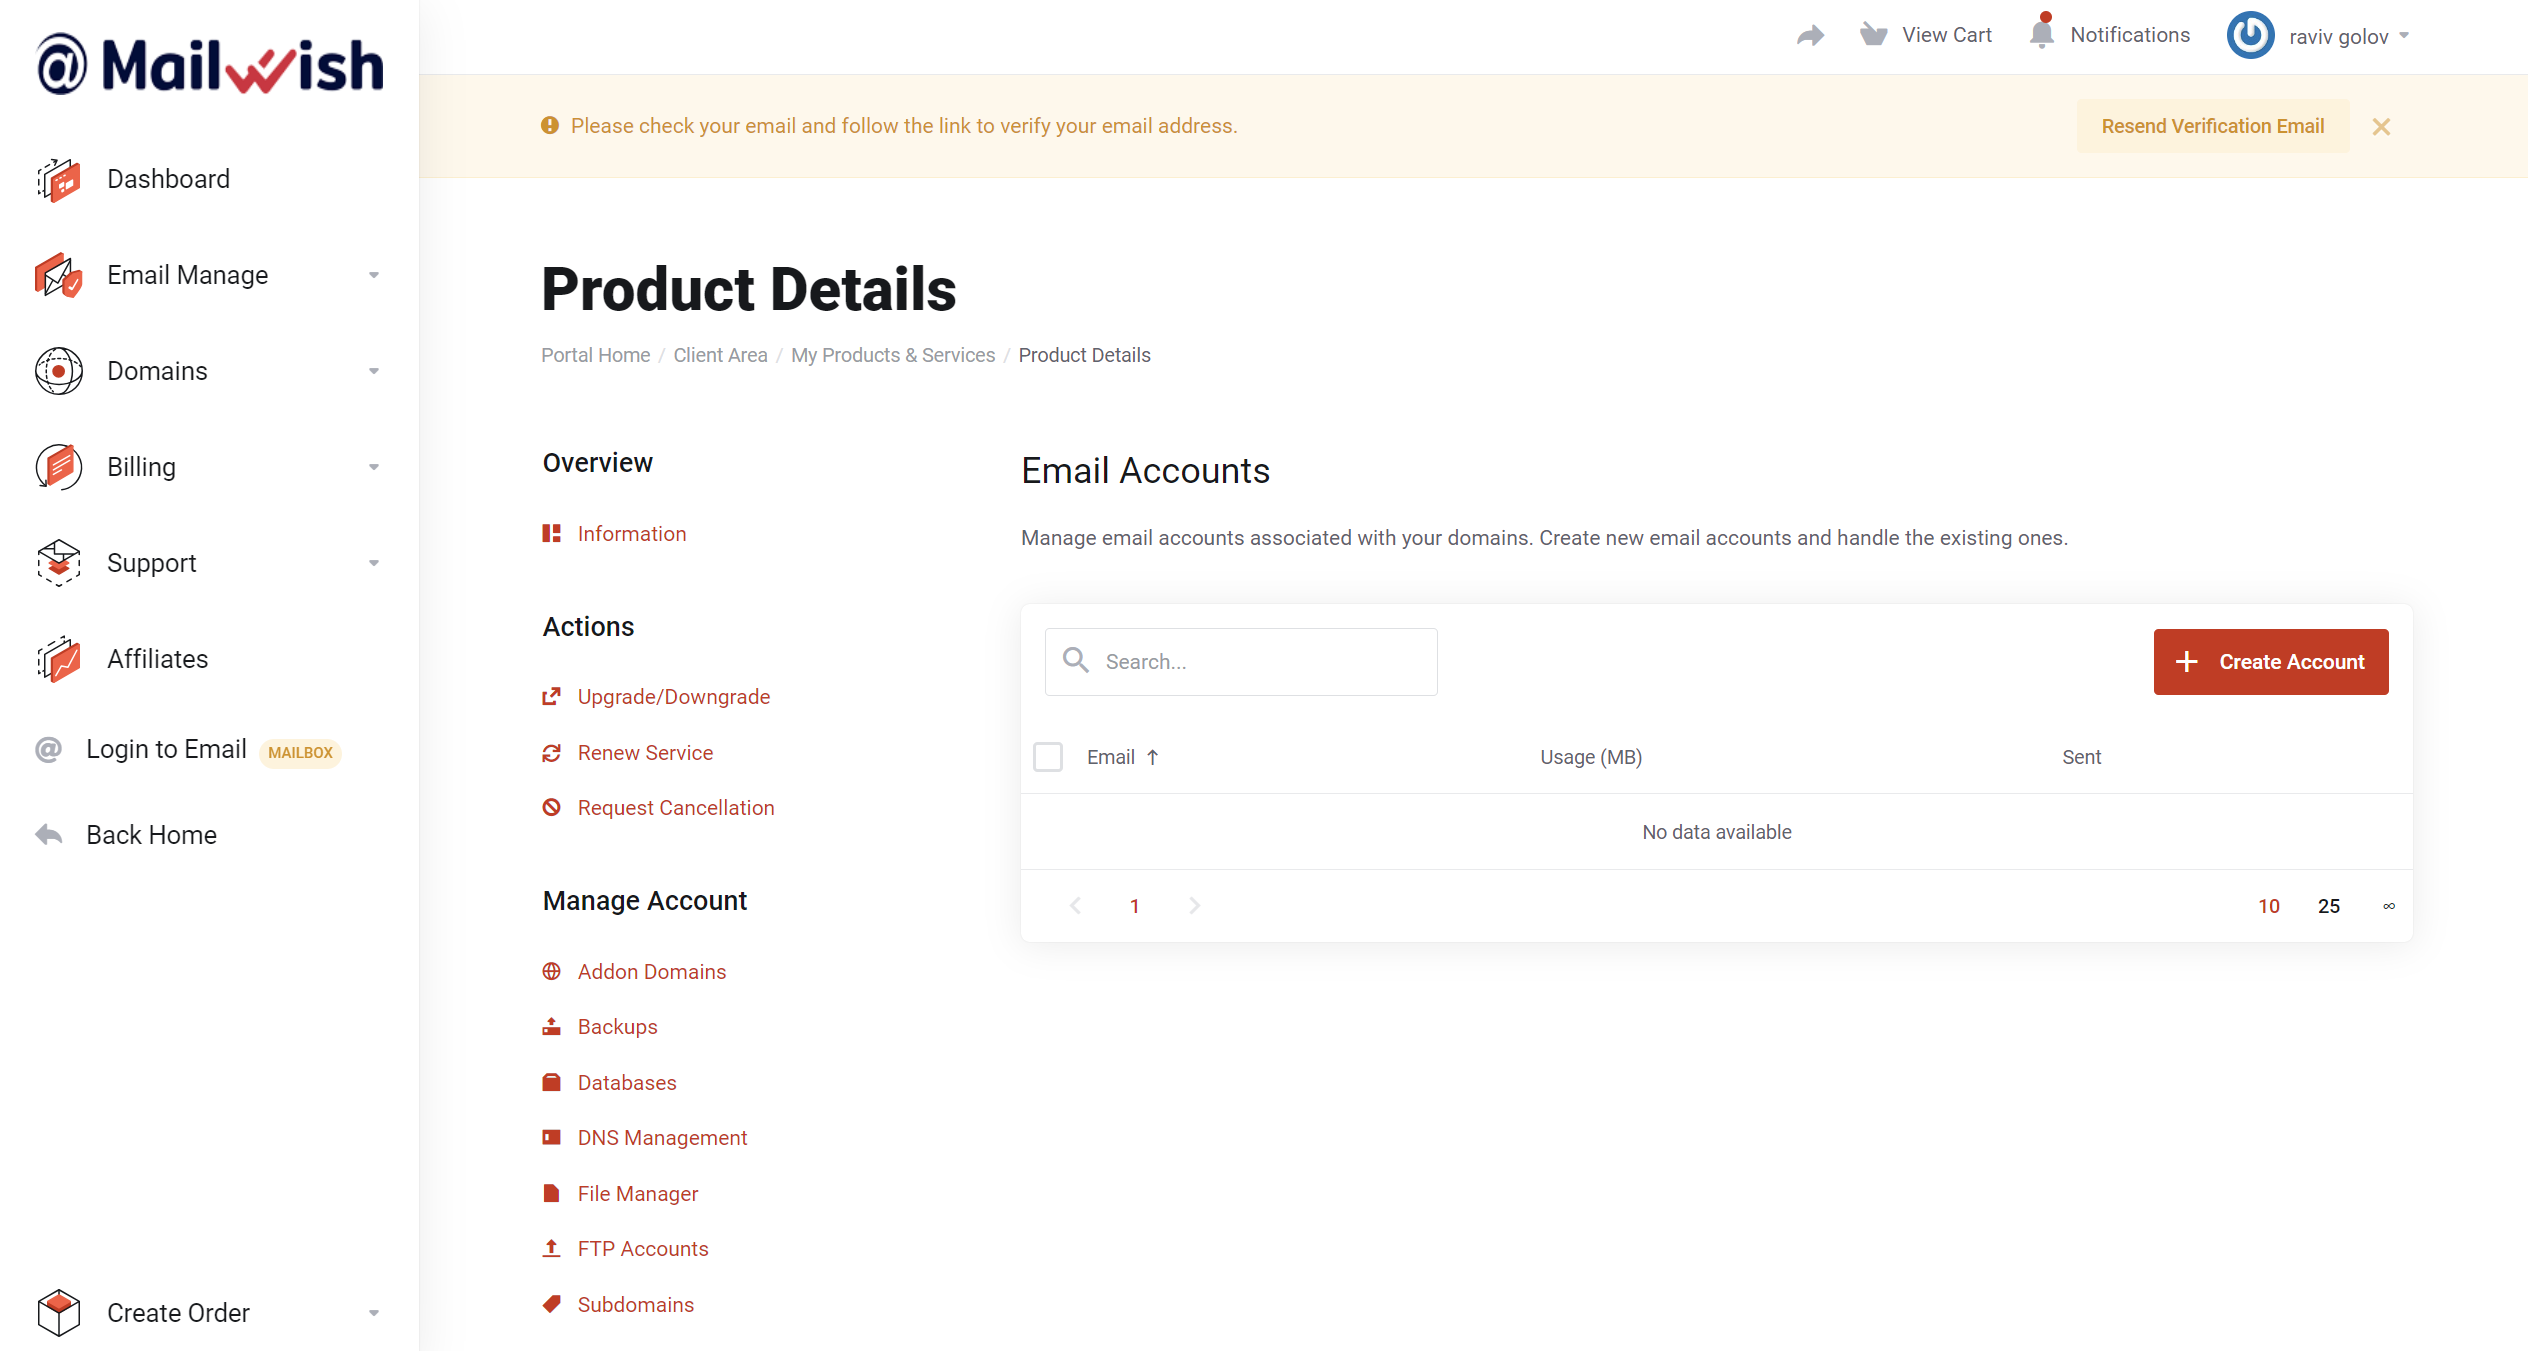
  5. Done! Click ‘Create Account‘ and choose your business email domain! Please note you can’t set an Unlimited Send Limit, you can set it up to ‘7200′ which is 300/day!
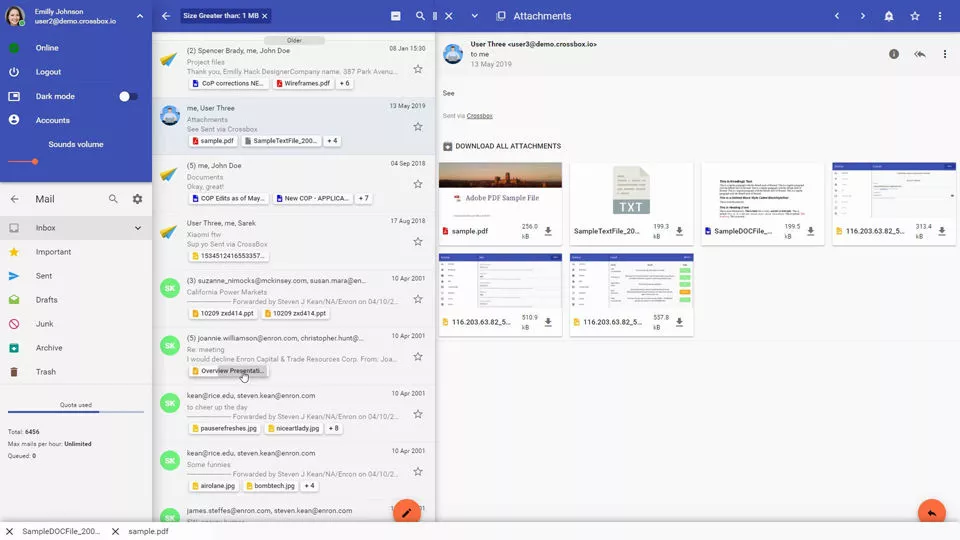
  6. Log in to your new Business Email Account with our top-winning Webmail: Mailbux Business Email Login
    Business email login: https://mailbux.com
    Mobile Apps:


Conclusion:

You can create full-featured unlimited business email account in a few minutes.

Next: Setup DNS records to make your emails fully working with our Email Hosting Platform.

Share this Post